
How to Use Passkeys on iPhone: Save, Sign In, and Recover
Published October 30, 2026
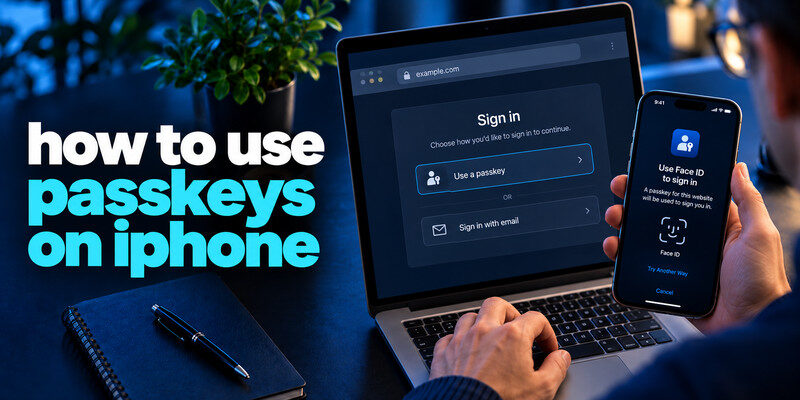
How to use passkeys on iPhone: Open a website or app that supports passkeys, go to its account security settings, and select Create a Passkey. Confirm with Face ID, Touch ID, or your iPhone passcode. Once saved, you can sign in to that account without typing your password.
Passkeys make signing in faster and more secure by replacing traditional passwords with device-based authentication. If you’re wondering how to use passkeys on iPhone, this guide explains how to enable, create, manage, and troubleshoot them using Apple’s built-in features.
What Are Passkeys on iPhone?
A passkey is a digital sign-in credential that lets you access supported websites and apps without entering a traditional password.
Instead of remembering a password, you verify your identity using Face ID, Touch ID, or your iPhone passcode.
Passkeys use cryptographic keys to authenticate your account. The website stores a public key, while the private key remains protected by your device or credential manager.
Unlike traditional passwords, passkeys are resistant to phishing because they are associated with the legitimate website or application.
On compatible Apple devices, passkeys saved through Apple’s Passwords system can synchronize using iCloud Keychain.
For a broader explanation of passkey authentication across devices, see our guide to setting up a passkey.
Secure your accounts with fast, reliable two-factor authentication. Download now and protect your login in seconds.Download Authenticator App
How to Enable Passkeys on iPhone
Before learning how to use passkeys on iPhone, make sure your device is configured correctly.
Step 1: Set Up Face ID or Touch ID
- Open Settings on your iPhone.
- Select Face ID & Passcode or Touch ID & Passcode.
- Set up biometric authentication if you haven’t already.
- Make sure your device passcode is enabled.
You can also use your iPhone passcode when biometric authentication is unavailable.
Step 2: Enable iCloud Keychain
To save and sync passkeys through Apple’s built-in credential manager:
- Open Settings.
- Tap your name at the top.
- Select iCloud.
- Open Passwords & Keychain or the equivalent setting for your iOS version.
- Enable synchronization for passwords and passkeys.
Your Apple Account must also have two-factor authentication enabled for Apple’s iCloud Keychain passkey synchronization.
Note: iOS menu names may vary by version. Third-party credential managers can also support passkeys, so iCloud Keychain is not required for every possible passkey workflow.
Read more: How to Browse the Internet Privately: 10 Practical Steps

How to Create a Passkey on iPhone
Once your iPhone is ready, you can create a passkey for any supported website or application.
Step 1: Open a Supported Website
Launch Safari or another compatible browser and visit the website where you want to create a passkey.
Sign in using your existing account credentials.
Step 2: Find the Passkey Settings
Navigate to the website’s account security settings.
Look for an option such as:
- Create a Passkey
- Add Passkey
- Set Up Passkey
The exact wording depends on the service.
Step 3: Save Your Passkey
Tap the passkey creation option.
Your iPhone should display a prompt asking you to save the credential.
Confirm using Face ID, Touch ID, or your device passcode.
Step 4: Complete Setup
Wait for the website to confirm that your passkey was created successfully.
Your new passkey will be stored in the selected credential manager.
You can now use it for future sign-ins on that supported service.
Read more: How to Use a Password Manager: Your First Week with a Vault

How to Sign In With Passkeys on iPhone
After creating your passkey, signing in becomes much easier.
Follow these steps to use passkeys on iPhone:
- Open the website or application where you created the passkey.
- Tap Sign In or Sign In With Passkey.
- Select your saved passkey if prompted.
- Confirm your identity using Face ID, Touch ID, or your iPhone passcode.
- Wait for authentication to complete.
You should be signed in without entering your account password.
If the website supports automatic passkey suggestions, iOS may offer your saved credential directly during the sign-in process.
Tip: Passkeys work only with the corresponding website or application. A passkey created for one service cannot be used to sign in to an unrelated service.

How to Find and Manage Saved Passkeys on iPhone
Knowing how to use passkeys on iPhone also includes understanding where they are stored and how to manage them.
On iOS 18 and later, Apple provides a dedicated Passwords app for managing saved credentials.
View Saved Passkeys
- Open the Passwords app.
- Unlock it using Face ID, Touch ID, or your passcode.
- Find the website or application associated with your passkey.
- Tap the entry to view its saved credential details.
On older compatible iOS versions, saved passkeys may be accessible through Settings > Passwords.
Delete a Passkey
If you no longer need a passkey, open its saved entry and use the available deletion option.
However, deleting a passkey from your iPhone or credential manager does not necessarily remove its registration from the website.
For complete removal, also review the service’s account security settings.
Important: Make sure you have another working sign-in or recovery method before deleting a passkey.
Read more: How to Choose a Password Manager: A Practical Checklist for 2026

How to Use iPhone Passkeys on Another Device
You can also use a passkey stored on your iPhone to sign in on a compatible computer.
- Open the supported website on your computer.
- Select Sign in with a passkey.
- Choose the option to use a passkey from another device.
- Scan the displayed QR code using your iPhone.
- Follow the system instructions and confirm with Face ID, Touch ID, or your passcode.
The devices may need Bluetooth enabled and must be near each other for the cross-device authentication process.
This allows you to authenticate using your iPhone without saving your passkey directly to the computer.
How to Fix Passkeys Not Working on iPhone
If you cannot create or use passkeys on iPhone, try the following solutions.
Passkey Option Not Showing
- Check whether the website supports passkeys.
- Update iOS and your browser.
- Verify that your iPhone has a screen lock enabled.
- Check your credential provider and AutoFill settings.
Face ID or Touch ID Not Working
- Check your biometric authentication settings.
- Restart your iPhone if necessary.
- Use your device passcode when available.
Saved Passkey Not Found
- Open the Passwords app and search for the website.
- Check whether iCloud Keychain synchronization is enabled.
- Verify that you’re using the correct Apple Account.
- Check any third-party credential managers you use.
Passkeys Missing After Switching iPhones
If your passkeys were synchronized through iCloud Keychain, they may become available after signing in to your Apple Account and completing the required device verification.
If a passkey was stored only on your old device, you may need another registered passkey or the website’s account recovery method.
Avoid deleting working credentials until you’ve successfully tested sign-in on your new iPhone.
Read more: What Is a Password Manager? A Plain-English Guide to Vaults and AutoFill
Are Passkeys Safer Than Passwords on iPhone?
Passkeys provide stronger protection against common password-based attacks, including credential phishing and password reuse.
They also make authentication more convenient because you don’t need to remember or type complex passwords.
However, passkeys do not eliminate every security risk. Protecting your iPhone passcode, Apple Account, and account recovery methods remains essential.
For websites that don’t support passkeys, consider enabling two-factor authentication using a compatible authenticator app.
An authenticator app that generates one-time verification codes is different from a passkey manager, but both can help improve account security in their supported authentication workflows.

Frequently Asked Questions
Where are passkeys stored on iPhone?
Passkeys saved through Apple’s built-in credential system are available in the Passwords app on iOS 18 and later. With iCloud Keychain enabled, supported passkeys can synchronize across your compatible Apple devices.
Can I use passkeys on iPhone without Face ID?
Yes. You can use Touch ID or your iPhone passcode to authorize passkey authentication, depending on your device and configuration.
Do passkeys work on all iPhone apps?
No. Passkeys work only with websites and applications that support passkey authentication.
Can I use passkeys without iCloud Keychain?
Yes, depending on your iOS version and the credential provider. Some compatible third-party password managers can store and manage passkeys.
What happens to my passkeys if I lose my iPhone?
If your passkeys are synchronized through iCloud Keychain, you may be able to recover access on another approved Apple device. Otherwise, use another registered passkey or the website’s official account recovery process.
Final Thoughts
Learning how to use passkeys on iPhone makes it easier to sign in securely without relying on traditional passwords.
By enabling the appropriate credential storage settings, creating passkeys for supported accounts, and using Face ID, Touch ID, or your device passcode, you can simplify everyday authentication.
Remember to keep your iPhone updated, protect your Apple Account, and maintain a reliable recovery method.
For websites that still require password-based authentication, a two-factor authenticator app can provide an additional layer of protection where supported.