
Setting Up Google Authenticator: How to Set Up and Use 2FA
Published August 8, 2026 · Updated October 20, 2026
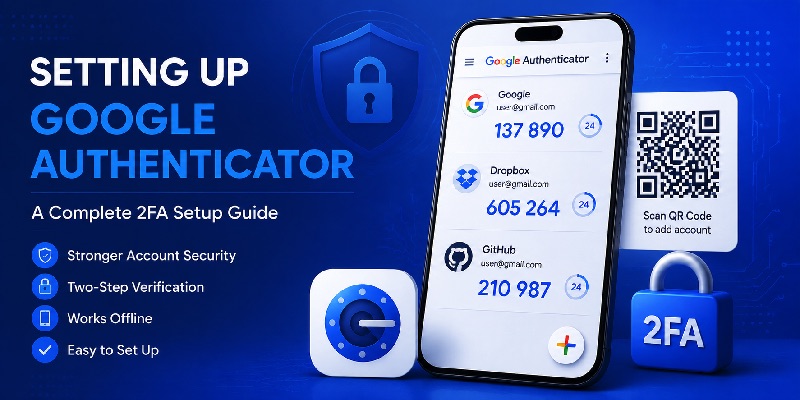
Setting up Google Authenticator is a simple way to add two-factor authentication (2FA) to your online accounts. Instead of relying only on a password, compatible websites can ask for a temporary verification code generated by the Google Authenticator app.
Whether you want to protect your Google Account, Gmail, Facebook, or another service, this guide explains how to install Google Authenticator, connect an account, use verification codes, manage backups, and recover access when changing phones.
Quick Answer: To set up Google Authenticator, download the official app, open the security settings of the account you want to protect, enable two-factor authentication, and choose the authenticator app option. Scan the setup QR code with Google Authenticator or enter the manual setup key. Then enter the generated verification code on the website to complete enrollment. Save backup codes and test your new sign-in method before finishing.
Once configured, Google Authenticator can generate standard verification codes without an internet connection or mobile signal.
How to Set Up Google Authenticator Step by Step
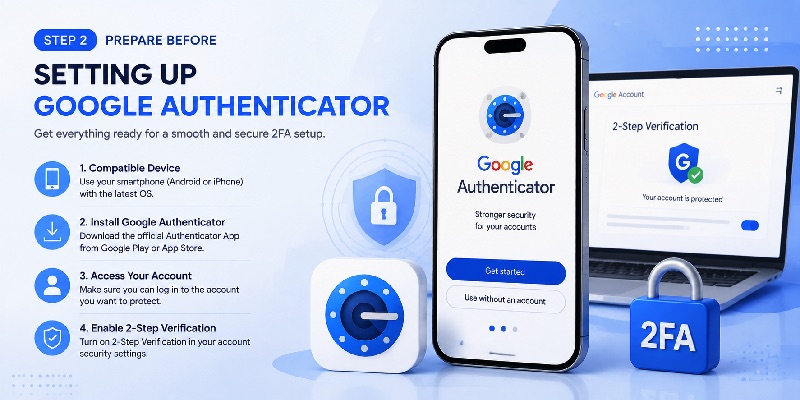
The process of setting up Google Authenticator generally takes a few minutes. You need a compatible phone, the official app, and access to the security settings of the account you want to protect.
Step 1: Download the Official Google Authenticator App
Install Google Authenticator from the official app store for your device:
- Android: Google Authenticator on Google Play
- iPhone and iPad: Google Authenticator on the App Store
Verify that the developer is Google LLC.
Avoid unofficial APK files, browser extensions, or similarly named apps claiming to be Google’s official authenticator.
For device-specific instructions, read our Google Authenticator Android download guide or Google Authenticator for iPhone guide.
Step 2: Open Google Authenticator and Choose Your Storage Option
When you open Google Authenticator, you can use it with a Google Account or without one.
With a Google Account: Supported authentication codes can synchronize across devices signed in to that account inside Google Authenticator.
Without a Google Account: Codes are stored locally on the device, so you must plan how to transfer or recover them if you change phones.
Neither option requires a mobile connection to generate standard TOTP codes after setup.
Choose the storage approach that fits your security and recovery preferences.
Secure your accounts with fast, reliable two-factor authentication. Download now and protect your login in seconds.Download Authenticator App
Step 3: Enable Two-Factor Authentication on Your Account
Next, open the website or application you want to secure.
Sign in and look for a security option such as:
- Two-Factor Authentication
- Two-Step Verification
- Authenticator App
- Authentication App
- Multi-Factor Authentication
Select the authenticator app method.
The service will usually display a setup QR code or a manual secret key.
Important: Only use a setup QR code generated by the legitimate service while you are configuring your own account. A setup QR code contains sensitive authentication information.
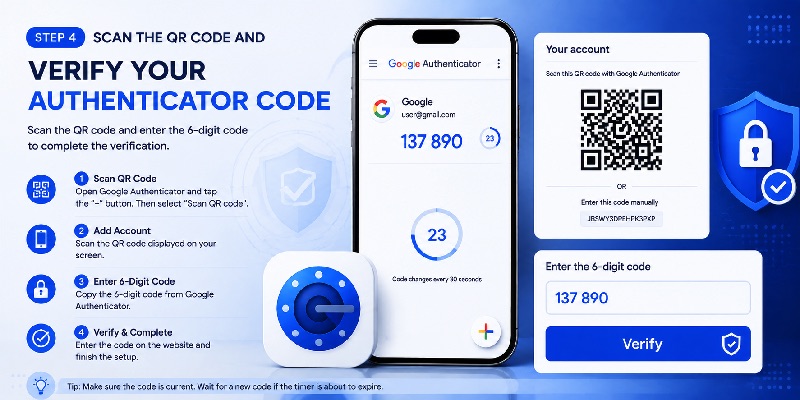
Step 4: Scan the QR Code With Google Authenticator
On your phone:
- Open Google Authenticator.
- Tap the + button.
- Select Scan a QR code.
- Allow camera access if prompted.
- Scan the setup QR code shown by the account provider.
- Confirm that the new account appears in Google Authenticator.
The app should now generate a temporary verification code for that account.
If you are using a computer, it is often easiest to display the setup QR code on the computer screen and scan it with your phone.
Step 5: Enter a Setup Key Manually if Needed
If you cannot scan the QR code, some services offer a manual setup key.
To use it:
- Open Google Authenticator.
- Tap +.
- Choose Enter a setup key.
- Enter a recognizable account name.
- Enter the secret key provided by the service.
- Select the appropriate key type, usually time-based.
- Save the account.
Never share your manual setup key. Anyone who obtains it may be able to generate verification codes for that account.
Step 6: Verify the First Code and Save Recovery Methods
Return to the website where you enabled 2FA.
Enter the current code displayed in Google Authenticator and select Verify, Confirm, or the equivalent option.
The service should confirm that the authenticator has been registered successfully.
Next, save any backup codes the service provides.
Do not rely on Google Authenticator as your only way to recover an important account.
How to Use Google Authenticator When Signing In
After setup, how to use Google Authenticator becomes straightforward.
You do not need to scan the original QR code every time you log in. The app continuously generates new temporary codes for accounts you have already registered.
How to Get a Google Authenticator Code
When a website requests an authenticator code:
- Enter your normal account credentials.
- Open Google Authenticator on your phone.
- Find the entry matching the website and username.
- Read the current verification code.
- Enter it on the legitimate sign-in page.
- Complete the login.
Most standard TOTP codes contain six digits and refresh approximately every 30 seconds.
If a code is about to expire, wait for the next one before entering it.
How to Use Google Authenticator Without Internet
Google Authenticator can generate standard verification codes offline because it uses a stored authentication secret and your phone’s current time.
You do not need Wi-Fi or cellular service simply to generate a code.
However, the website where you are signing in may still require internet access.
Google Account synchronization, app installation, and some recovery functions also require connectivity.
How to Add Another Account to Google Authenticator
You can use one Google Authenticator app for multiple compatible services.
To add another account:
- Open the new service’s security settings.
- Enable authenticator-based 2FA.
- Display the setup QR code.
- Open Google Authenticator.
- Tap + and scan the code.
- Verify the new account on the website.
Each account has its own authentication secret and generates its own codes.
A code for one account cannot be used to sign in to a different account.
How to Use Google Authenticator on a Computer
You can use Google Authenticator when signing in to websites on Windows, macOS, or Linux.
Open the website in your desktop browser, then enter the code generated by Google Authenticator on your phone.
Google does not provide an official native Google Authenticator desktop application or a web dashboard for viewing all your codes.
For more information, see our Google Authenticator for PC guide.
How to Set Up Google Authenticator for Gmail and Other Accounts
Google Authenticator works with Google Accounts and many third-party services that support standard TOTP authentication.
The exact setup menu depends on the provider.
How to Set Up Google Authenticator for Gmail
Gmail uses your Google Account’s security settings.
To add Google Authenticator as a verification method:
- Visit Google Account Security.
- Sign in to your Google Account.
- Open 2-Step Verification.
- Complete any required identity verification.
- Find the Authenticator option.
- Select Set up authenticator or the available setup action.
- Follow the on-screen instructions.
- Complete the verification process.
- Save your backup codes.
Google may offer additional methods such as prompts, passkeys, or security keys.
You can retain other supported authentication methods for recovery and stronger security.
For a detailed walkthrough, read our Google Account two-step verification guide.
How to Use Google Authenticator for Gmail Login
When Google requests an authenticator code:
- Open Google Authenticator.
- Find the entry for the correct Google Account.
- Enter the current code.
- Complete the sign-in.
Google does not necessarily request a TOTP code at every login. The method shown depends on your account’s available authentication options and the sign-in context.
How to Use Google Authenticator for Facebook
Facebook supports authenticator-based two-factor authentication for eligible accounts.
The general setup process is:
- Sign in to Facebook.
- Open the account’s security settings, typically through Accounts Center.
- Find Two-factor authentication.
- Select the account you want to protect.
- Choose an authentication app when available.
- Follow the setup instructions.
- Add the provided credential to Google Authenticator.
- Verify the generated code.
- Save Facebook recovery codes.
Facebook’s menu names and navigation may change.
Always use the official security settings rather than a QR code supplied by a third party.
Can You Use Google Authenticator for Other Websites?
Yes, if the website supports standard authenticator-based TOTP verification.
You may be able to use it for compatible email, social media, cloud storage, developer, gaming, and other accounts.
However, some services require their own authentication application or a specific sign-in method.
Check the provider’s official security documentation before attempting setup.
How to Manage Multiple Accounts and Protect Your Codes
After setting up Google Authenticator for several accounts, organization and security become important.
Find and Organize Multiple Accounts
Google Authenticator supports managing multiple account entries.
On supported versions, you can search for an account by username or label and rearrange entries for easier access.
Use recognizable labels so you do not accidentally enter a code for the wrong account.
Be particularly careful when several accounts belong to the same service.
Enable Privacy Screen
Google Authenticator offers a Privacy Screen option that can require your device’s PIN, pattern, or biometric authentication before the app is used.
To enable it:
- Open Google Authenticator.
- Open the menu.
- Select Settings.
- Choose Privacy Screen.
- Turn it on.
- Complete device verification.
This adds protection against someone casually accessing your codes on an unlocked phone.
Protect Your Authenticator Setup
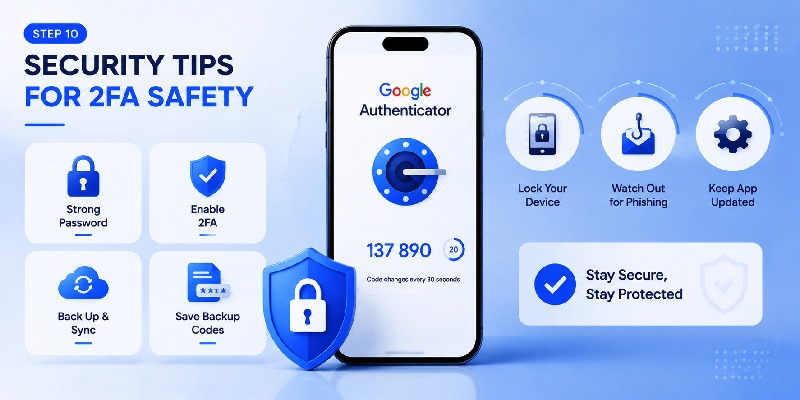
Follow these security practices:
- Keep your phone operating system updated.
- Use a strong device passcode.
- Enable Privacy Screen when appropriate.
- Do not share live verification codes.
- Keep setup QR codes and secret keys private.
- Save account recovery codes securely.
- Avoid storing unencrypted authentication secrets in screenshots or notes.
- Review registered authentication methods periodically.
TOTP provides additional protection beyond passwords, but codes can still be stolen through phishing.
For accounts that support them, passkeys and FIDO2 security keys offer stronger phishing resistance.
How to Back Up and Transfer Google Authenticator
Backup and recovery are essential parts of how to use Google Authenticator safely.
If you replace your phone without preparing a recovery method, you may lose access to accounts that require authenticator codes.
Option 1: Synchronize Codes With Your Google Account
Google Authenticator can synchronize supported verification codes through your Google Account.
If synchronization is enabled:
- Install Google Authenticator on your new device.
- Open the app.
- Sign in with the same Google Account.
- Check whether your codes appear.
- Test important account sign-ins.
Google states that synchronized Authenticator codes are encrypted in transit and at rest across its systems.
Protect the Google Account used for synchronization with strong authentication and recovery methods.
Option 2: Transfer Codes Manually Using QR Codes
If you use Google Authenticator without a Google Account, you can transfer codes manually.
On your old phone:
- Open Google Authenticator.
- Open the menu.
- Select Transfer codes.
- Choose Export codes.
- Unlock the device if prompted.
- Select the accounts to transfer.
- Display the transfer QR code.
On your new phone:
- Install Google Authenticator.
- Open the app.
- Select Transfer codes.
- Choose Import codes.
- Scan the QR code from your old phone.
- Repeat if multiple QR codes are generated.
- Verify that the imported accounts work.
A transfer QR code contains sensitive authentication information. Do not share it or upload it to an online QR reader.
For more detailed instructions, read our authenticator transfer guide.
What If You Lose Your Old Phone?
If your old phone is lost:
When synchronization was enabled: Install Google Authenticator on another supported device, sign in with the correct Google Account, and check for synchronized codes.
When codes were stored locally: Use backup codes, another registered verification method, or the account provider’s official recovery process.
Google Authenticator cannot reconstruct unsynchronized authentication secrets from an email address alone.
For additional recovery steps, see our Google Authenticator lost phone guide.
How to Remove or Replace Google Authenticator Safely
If you want to stop using Google Authenticator for a particular service:
- Sign in using a working authentication method.
- Open that service’s security settings.
- Review the currently registered authentication methods.
- Add and test a replacement method if supported.
- Remove the old authenticator registration only after confirming the replacement works.
Deleting an account entry from Google Authenticator does not necessarily disable 2FA on the website.
Also, deleting a synchronized code may remove it from other devices using the same synchronized Google Account.
Do not delete codes unless you understand the recovery consequences.
Google Authenticator Not Working: Common Fixes
If your Google Authenticator code is invalid, missing, or no longer available, identify the exact problem before changing your setup.
Google Authenticator Code Is Incorrect
If a website rejects your verification code:
- Check that you selected the correct service.
- Confirm that you selected the correct username.
- Wait for a fresh code.
- Enter it before expiration.
- Enable automatic date and time on your phone.
- Confirm that the account’s 2FA registration has not changed.
Google Authenticator version 7.0 and later no longer provides the older in-app time correction setting.
If your device time is incorrect, adjust the operating system’s date and time settings.
For more troubleshooting information, read our Google Authenticator app code guide.
Google Authenticator QR Code Is Not Scanning
If the setup QR code cannot be scanned:
- Check camera permission.
- Adjust screen brightness.
- Move your phone closer or farther from the code.
- Make sure the entire code is visible.
- Generate a new QR code if the original expired.
- Use a manual setup key when the service supports it.
Do not upload the setup QR code to an unfamiliar website.
Google Authenticator Codes Are Missing
If your codes disappear:
- Check whether you are signed in to the correct Google Account.
- Look for codes saved under another Google Account.
- Confirm whether you previously used local-only storage.
- Use the old device to transfer codes if it is still available.
- Recover individual accounts if no usable backup exists.
Do not uninstall the app as your first troubleshooting step.
Google Authenticator Is Not Working After Changing Phones
The new phone may not contain the authentication secrets registered on your old phone.
Check whether synchronization was enabled.
If it was not, use manual transfer while you still have the old device.
If neither option is available, follow the account provider’s recovery process.
Can You Reset Google Authenticator?
You can replace an authenticator registration through the security settings of a supported account.
However, there is no universal reset that automatically reconnects every website in Google Authenticator.
Each service controls its own 2FA enrollment and recovery process.
Avoid deleting your existing authenticator until you have verified another working authentication method.
Frequently Asked Questions
How do I start setting up Google Authenticator?
Install the official app, open your account’s security settings, enable authenticator-based 2FA, scan the setup QR code, and verify the generated code.
How do I use Google Authenticator after setup?
Open the app whenever a supported website requests an authenticator code. Find the correct account and enter its current verification code.
Is Google Authenticator free?
Yes. The official Google Authenticator app is free on supported Android and iOS devices.
Can I use Google Authenticator without a Google Account?
Yes. You can store codes locally without signing in to a Google Account inside Authenticator.
Does Google Authenticator work without internet?
Yes. Standard TOTP codes can be generated offline after setup.
How do I add an account to Google Authenticator?
Enable authenticator-based 2FA on the website, tap the plus button in Google Authenticator, scan the setup QR code or enter the setup key, and complete verification.
How do I use Google Authenticator for Gmail?
Open your Google Account’s 2-Step Verification settings, add the Authenticator method, and follow Google’s setup instructions. Use the generated code when Google requests that verification method.
Can I use Google Authenticator for Facebook?
Yes, when Facebook offers standard authenticator-based 2FA for your account. Configure it through Facebook’s official security settings.
Can Google Authenticator manage multiple accounts?
Yes. It can generate separate verification codes for multiple compatible services and usernames.
How long does a Google Authenticator code last?
Standard TOTP codes typically refresh every 30 seconds. Enter the current code before it expires.
Why is my Google Authenticator code not working?
Possible causes include an expired code, incorrect device time, selecting the wrong account, or an outdated authenticator registration.
Can I transfer Google Authenticator to a new phone?
Yes. Use Google Account synchronization or the app’s manual QR code transfer process.
What happens if I lose my phone?
You may be able to restore synchronized codes. Otherwise, use backup codes, another registered method, or the account provider’s official recovery process.
Does Google Authenticator work on PC?
Google does not provide an official native Windows or macOS Google Authenticator application. You can use codes generated on your phone to sign in to websites opened on a computer.
Is Google Authenticator safer than SMS?
It avoids some phone-number-based risks associated with SMS, but TOTP codes can still be phished. Passkeys and FIDO2 security keys provide stronger phishing resistance when supported.
Should I delete Google Authenticator after switching phones?
Only after confirming that the new device can authenticate all important accounts and that your recovery methods are available.
Conclusion
Setting up Google Authenticator involves more than installing an app. You need to register your account, verify the first code, protect your authentication secrets, and prepare recovery options.
Once setup is complete, how to use Google Authenticator is simple: open the app, find the correct account, and enter the current verification code whenever a supported service requests it.
For long-term security, keep your device protected, save backup codes, and verify synchronization or transfer options before changing phones.
To explore related topics, see our Google Authenticator overview, Google Account security guide, and Google Authenticator recovery guide.